Google Analytics can be intimidating to some beginners, but once you get a handle on the basics of this powerful tool, the data possibilities are endless! Of course it’s important to learn how to walk before you run, so allow us to walk you through these beginning steps of setting up your account.
What is Google Analytics?
Google Analytics is a free Google tool that provides detailed information about your website, website traffic and the demographics of those visiting your site. For example, Google Analytics can provide the following:
- Number of visitors to your site
- Device used when visiting your website
- Location of your visitors
- Individual page traffic
Why You Need Google Analytics
Capturing visitor information and behavior is critical for any business. By tracking customer behavior, page popularity, traffic sources and conversion rates you can begin to make smart marketing decisions that directly affect your bottom line. For example Google Analytics allows you to:
- Analyze your marketing efforts
- Measure your website’s performance
- Determine if your content is resonating with your audience
- Use the data to inform marketing and resource decisions
- Capture important audience information
Your No Fuss Guide to Setting up Google Analytics
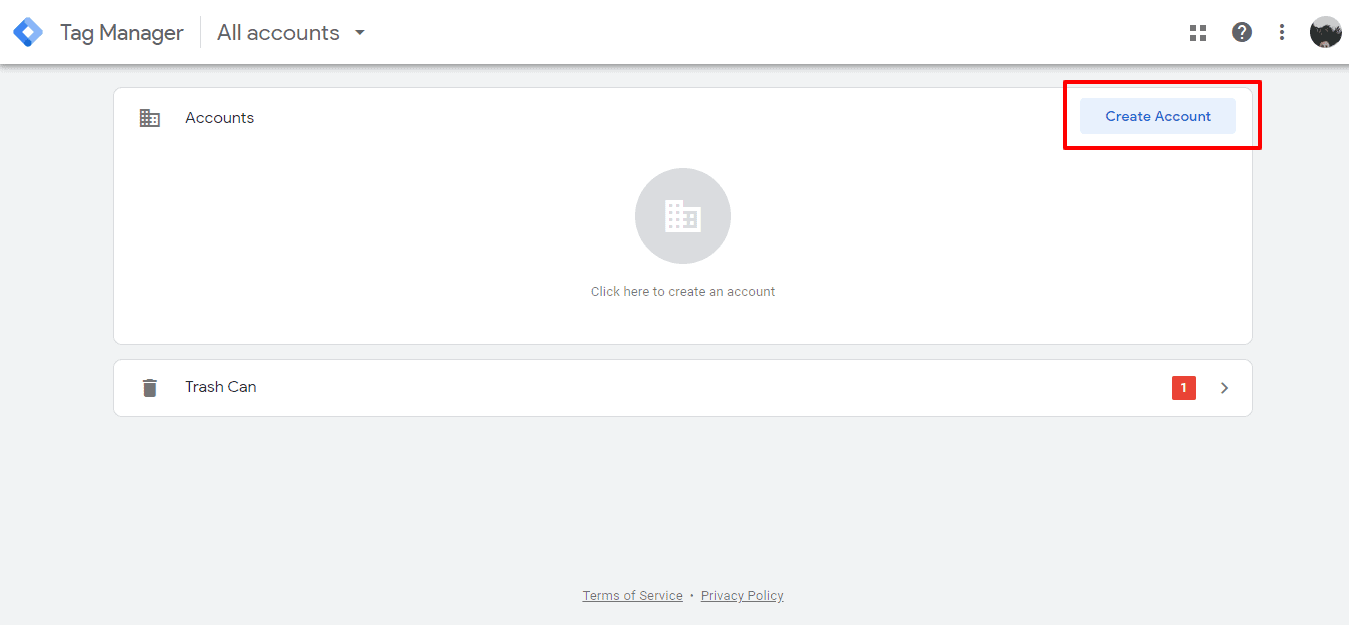
Step 1: Setup and install Google Tag Manager
Create an account, or use an existing account on the Google Tag Manager dashboard.
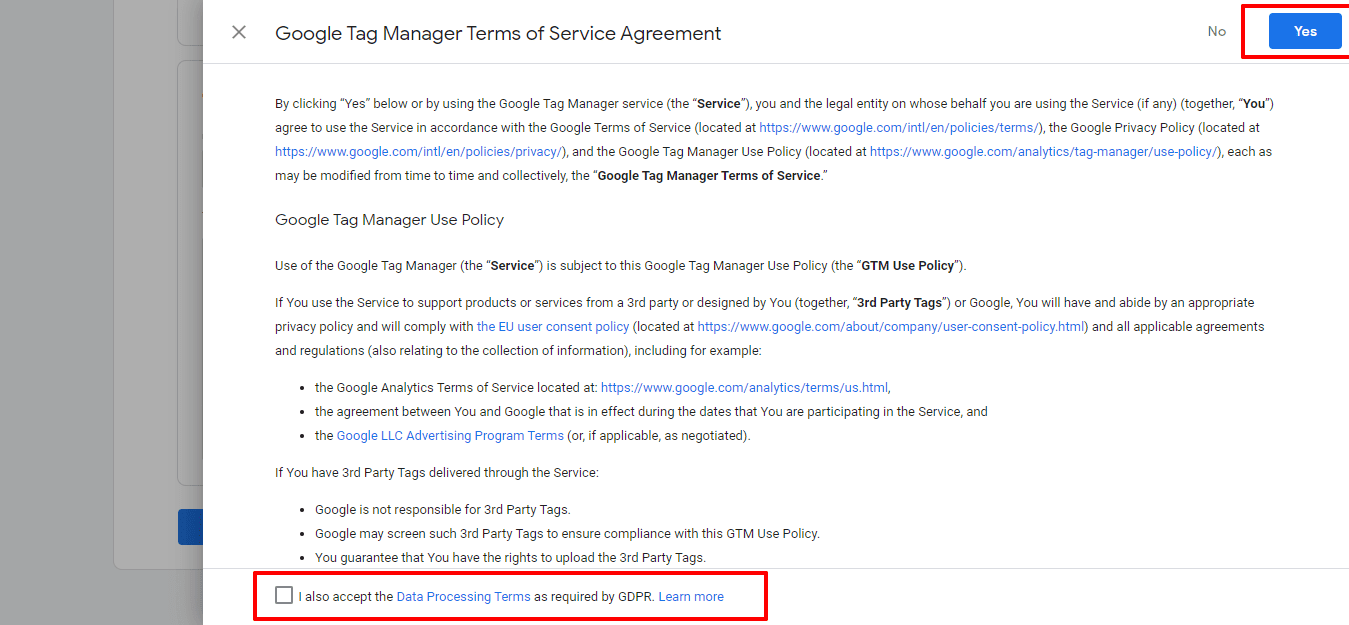
Enter an account name, choose your country. Then setup your container–this is where you need to enter a descriptive name and select which type of content it will be associated with.

Once done, review the terms of service, tick the box and click the Yes button.
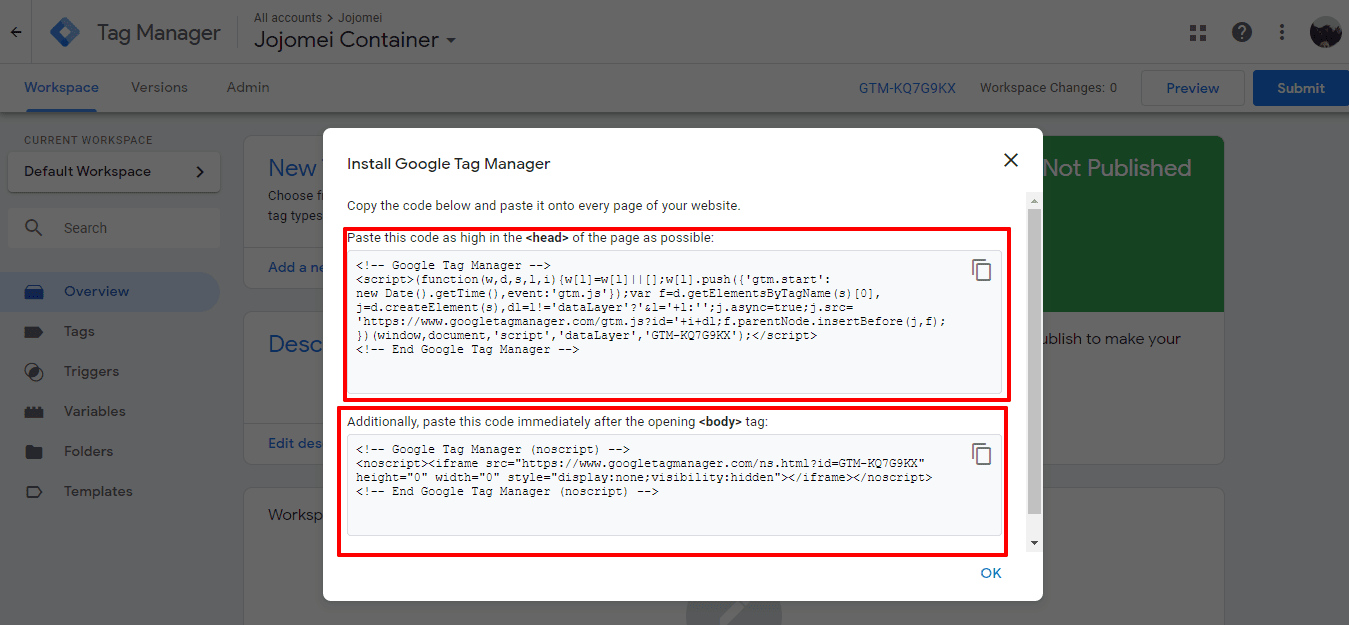
Now you have access to a piece of code that you can copy and paste into the header code of each page of your website. Trust us, this sounds much more complicated than it actually is and if your site it on WordPress, here’s a WordPress plugin to get the code implemented with just a few clicks of a button. If you have a trusted web developer, simply send them the snippet of code and they should be able to set it up for you.
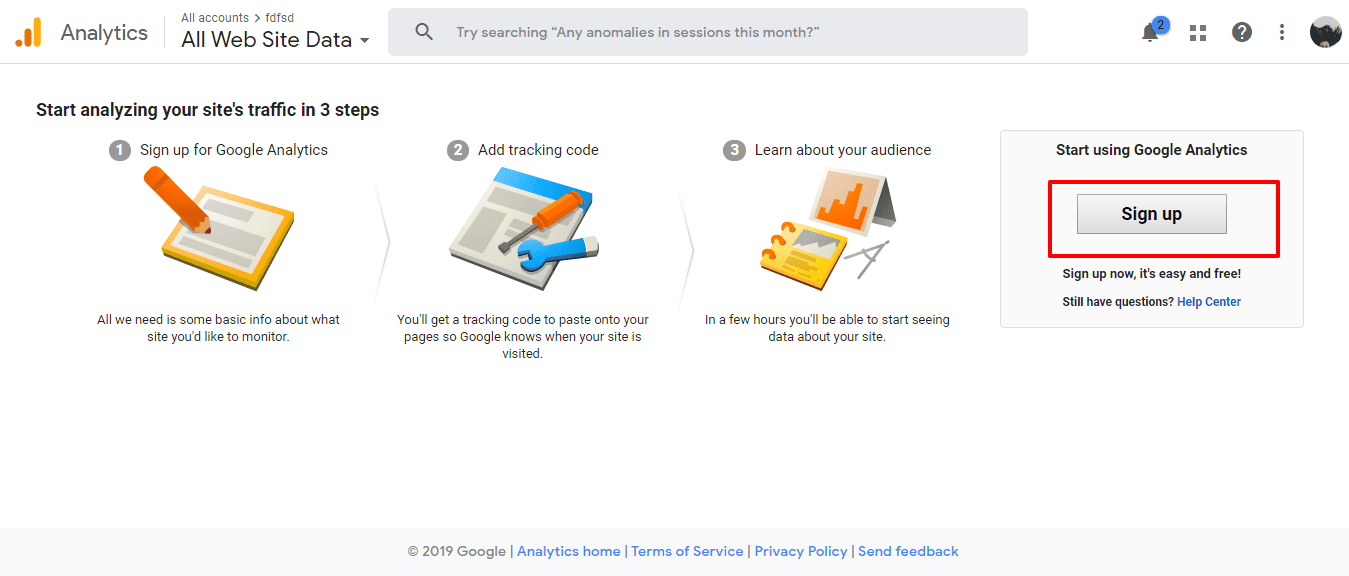
Step 2: Create a Google Analytics account
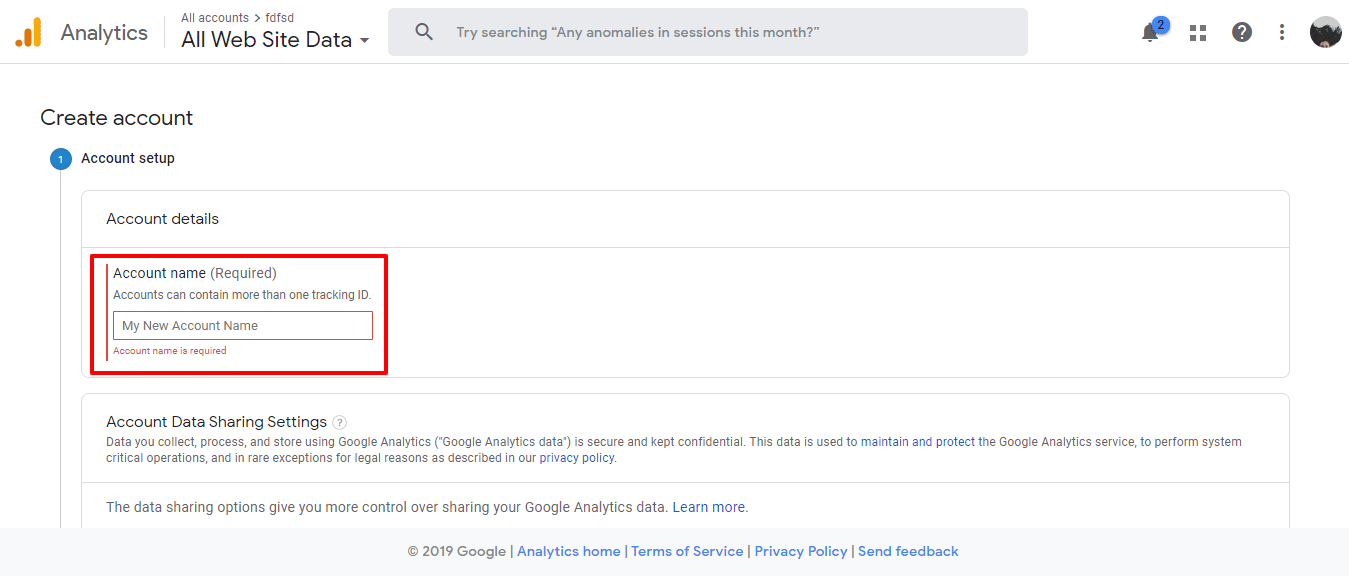
Now you need to create an account, or use an existing account on Google Analytics.
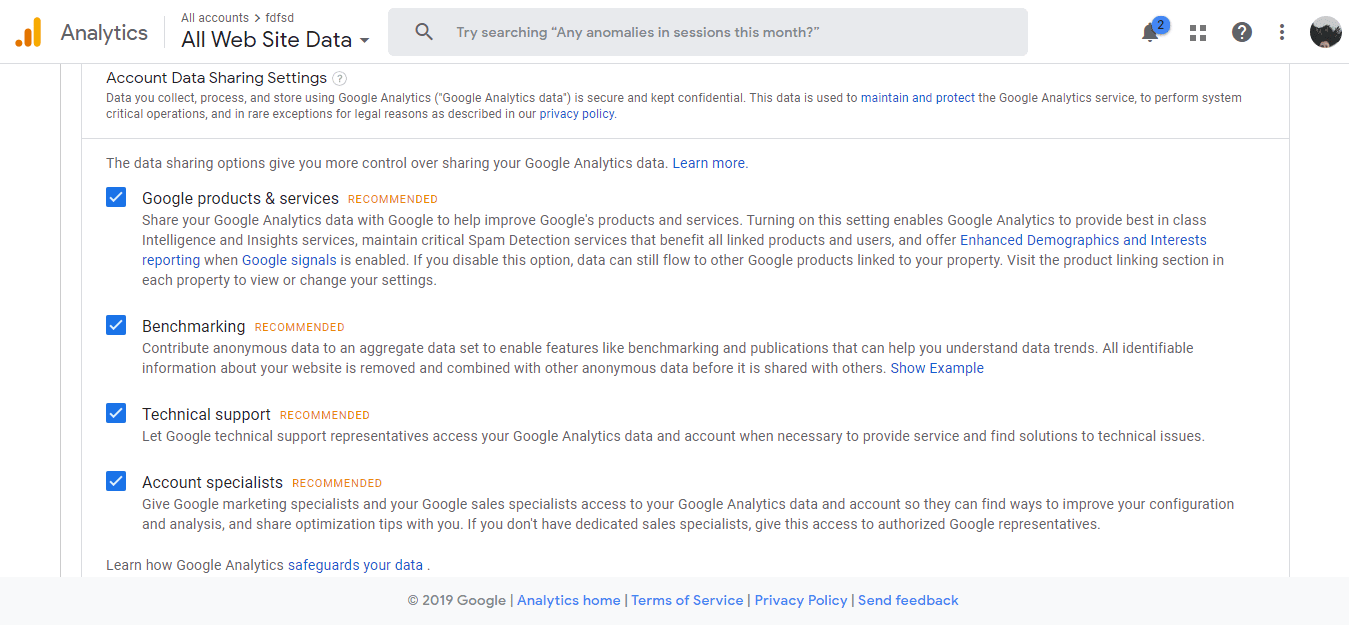
Enter an account name of your choice. Check applicable data sharing options you want. We usually tick all of the boxes 🙂 Then click Next.
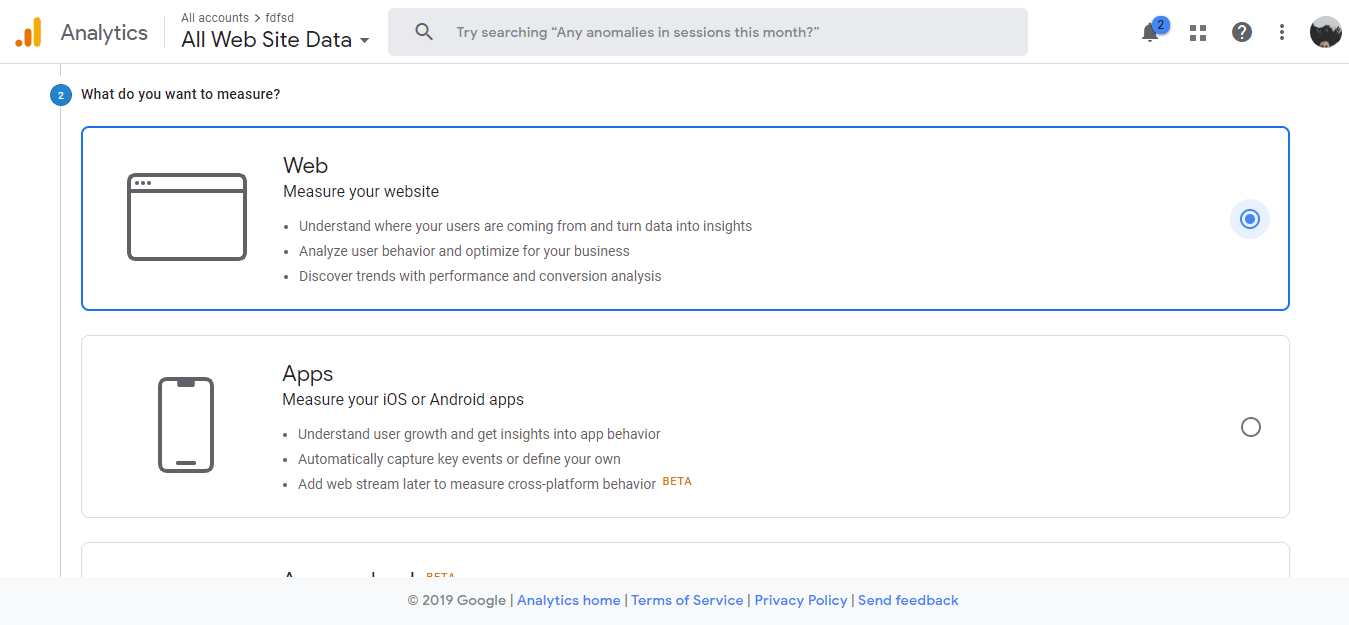
Choose the type of content you want to measure: Web, Apps, or Apps and web (Beta). For the purpose of this exercise choose Web then click Next.
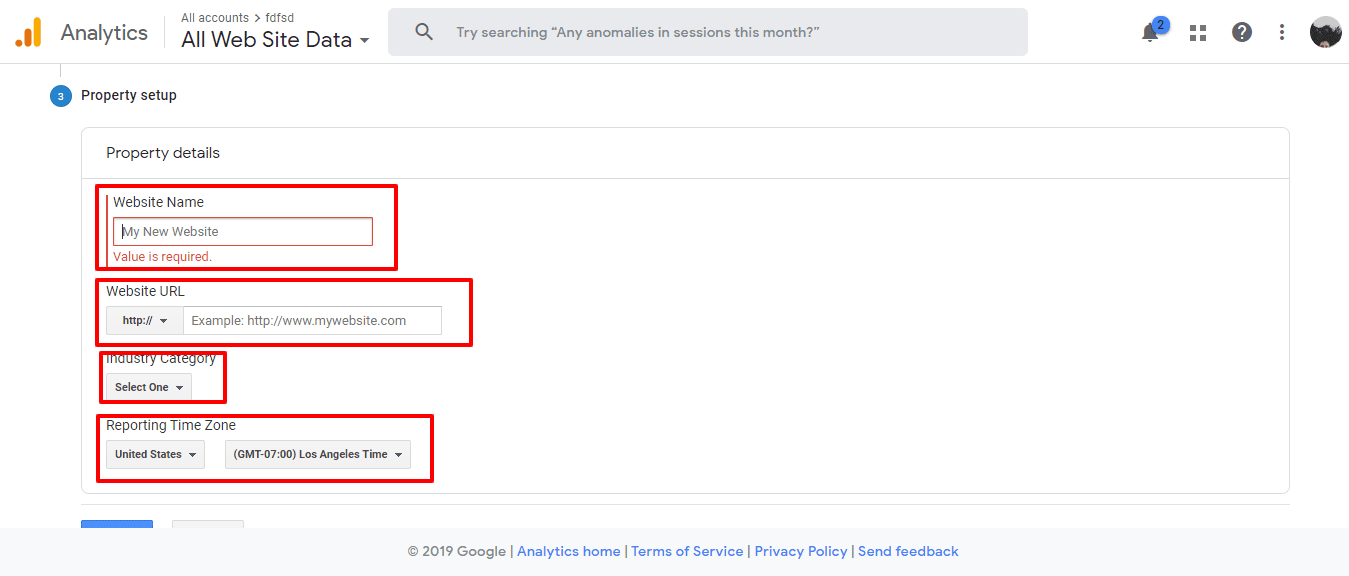
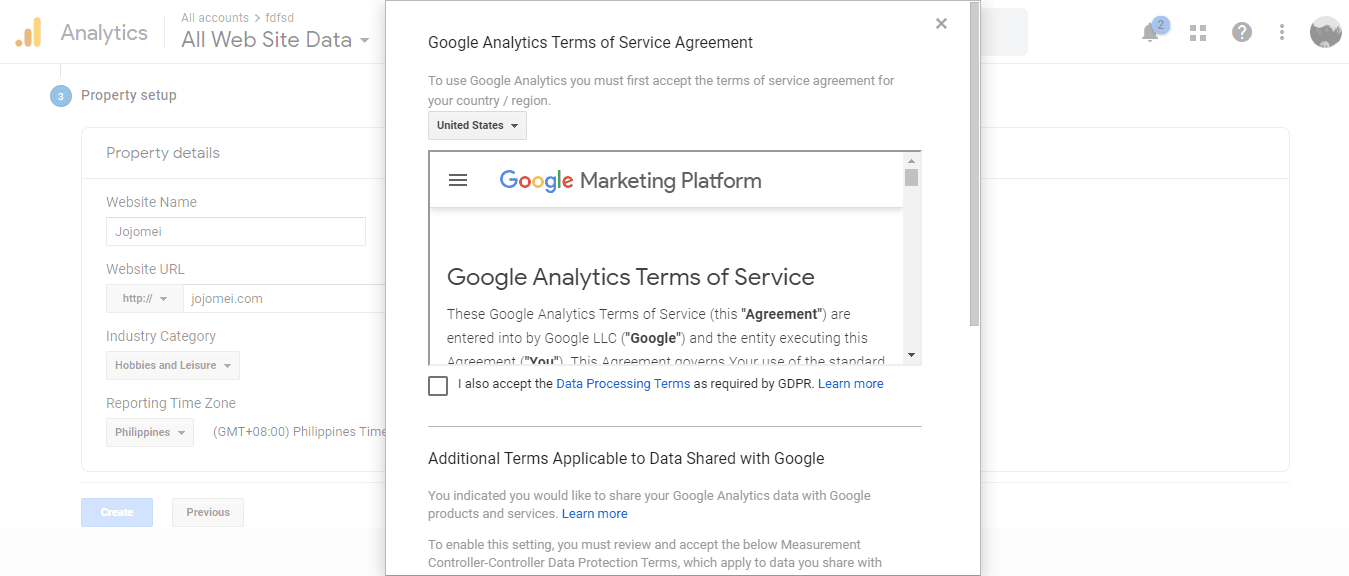
Setup your property (aka the website in question) and enter required information like your website name, website URL, category and time zone. Click Create.
Read the Terms of Service and click the I Accept button.
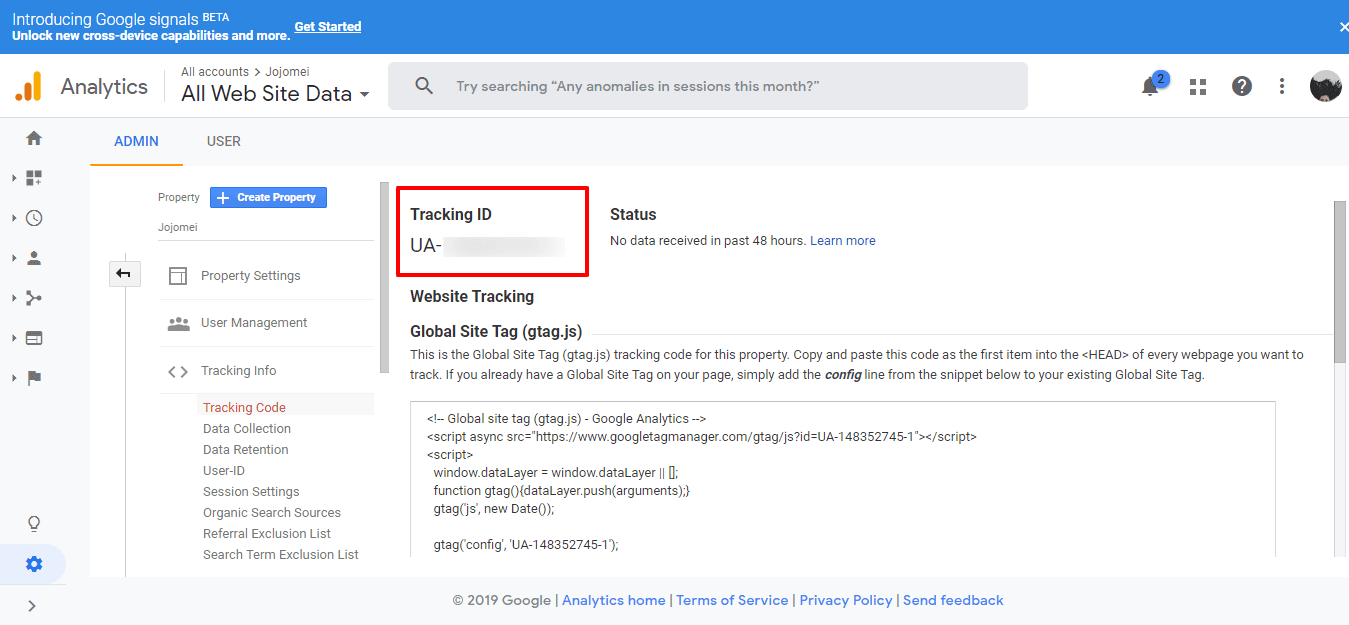
After that, you will be given a tracking ID that is unique to your website so be sure to keep this information private.
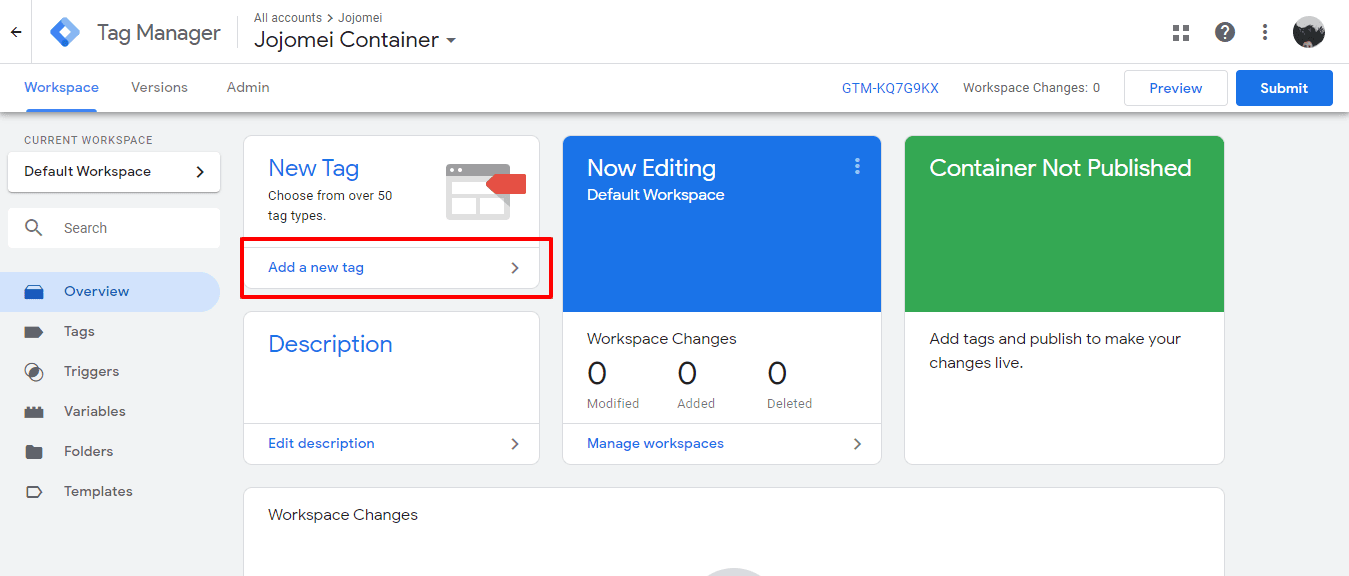
Step 3: Setup analytics tag with Google Tag Manager
Go to your Google Tag Manager dashboard and click ‘add a new tag’.
You will see two areas here:
- Configuration: this area simply names the kind of data that you want to collect. In this case, we are configuring our Google Analytics tag.
- Triggering: by setting a trigger you are telling Tag Manager when to begin collecting certain types of data. For instance, you can tell the tag to fire after a form submission, when a particular button in clicked or certain pages are viewed.
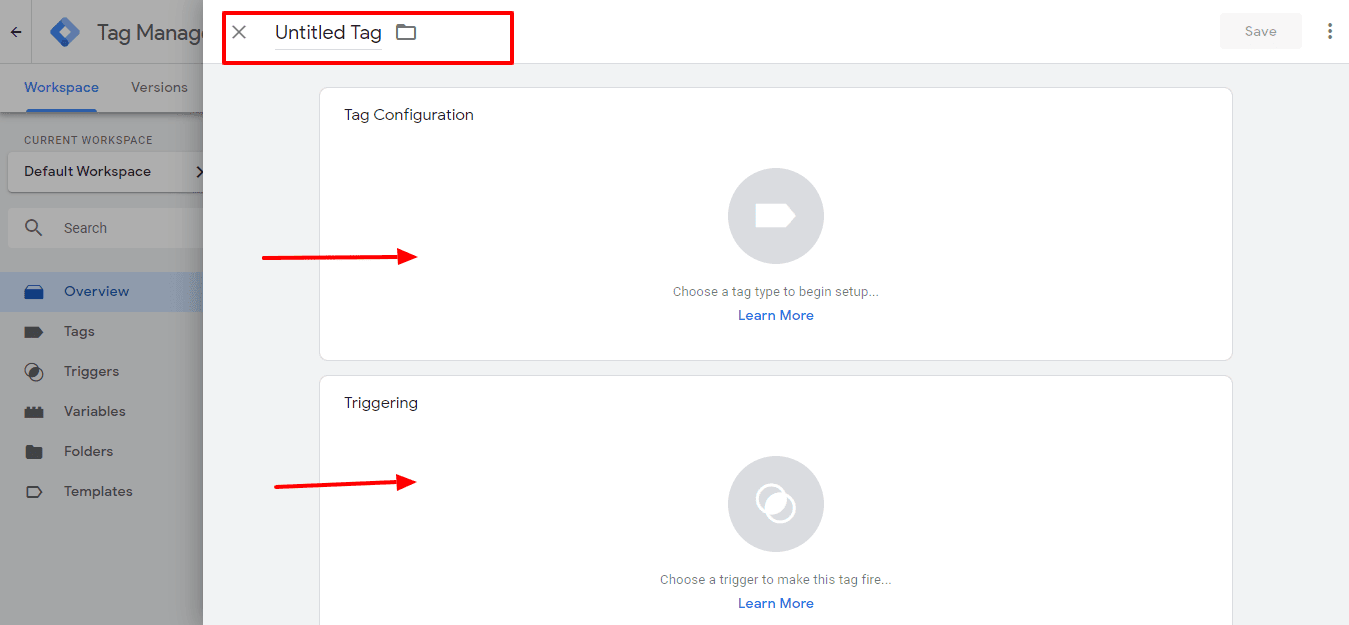
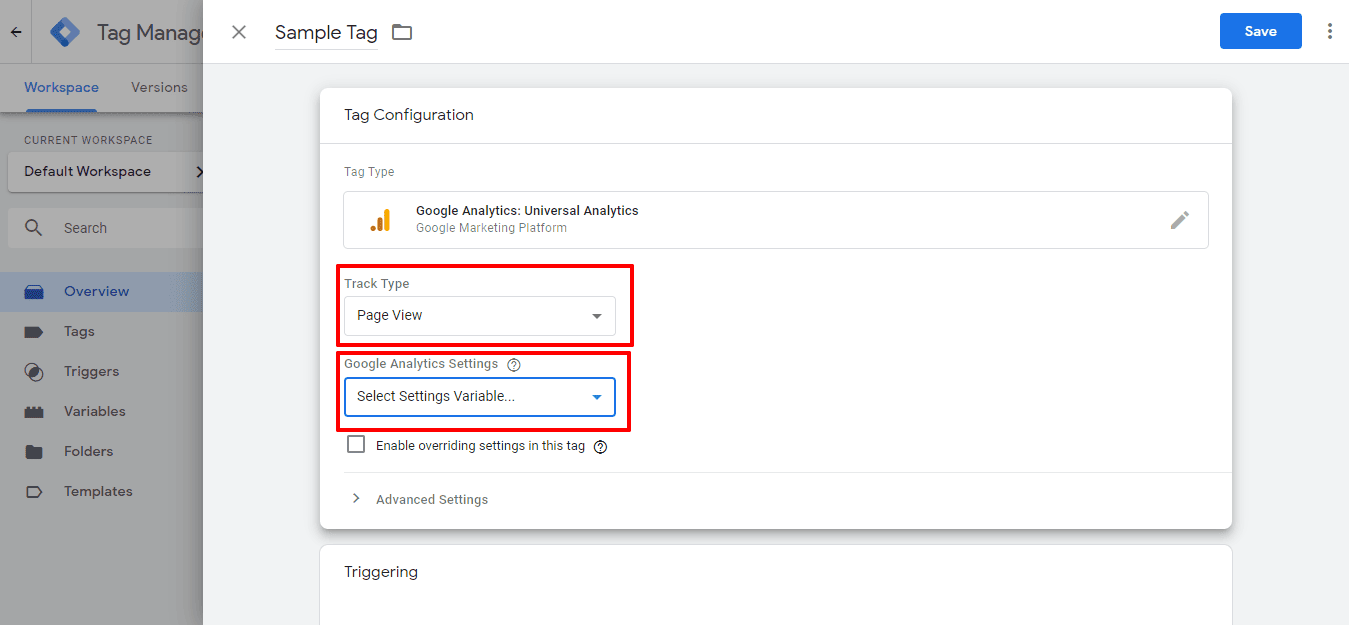
Give your tag a name then click on the Tag Configuration. Then choose Google Analytics: Universal Analytics to create a tag in Google Analytics.

Choose the type of data you want to track–in this case you want to track Google Analytics. Now select New Variable under Google Analytics Settings dropdown.
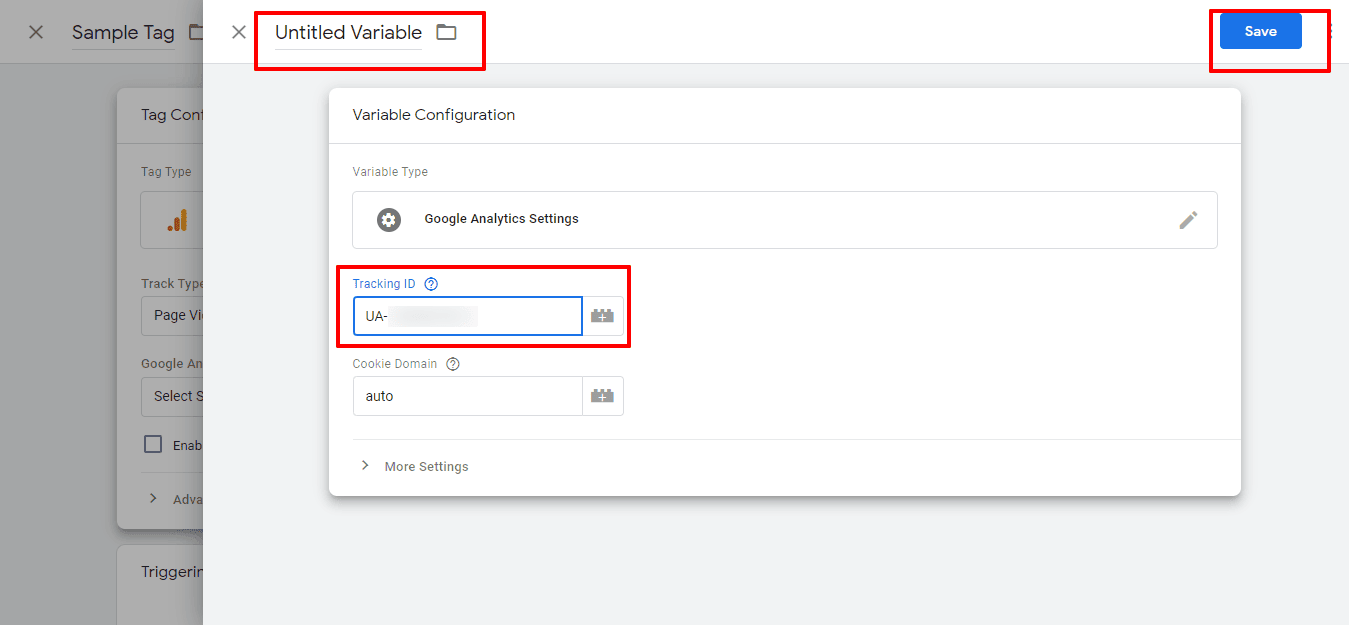
Then name your variable, enter your Tracking ID and click Save.
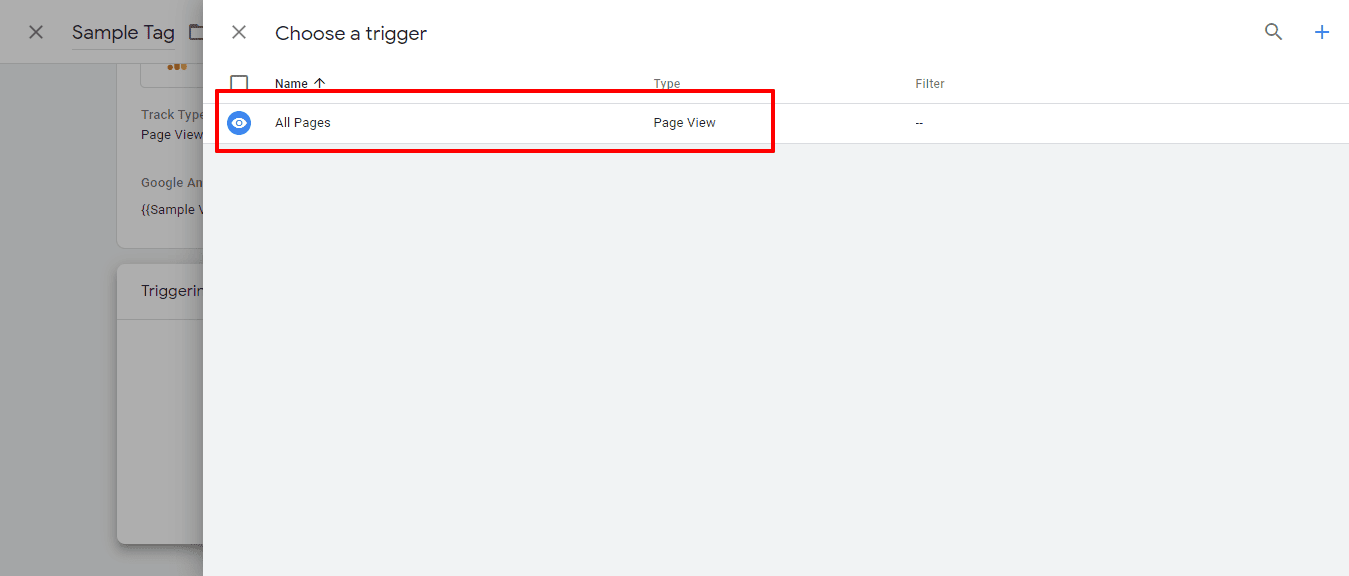
Go to Triggering section and choose a trigger.
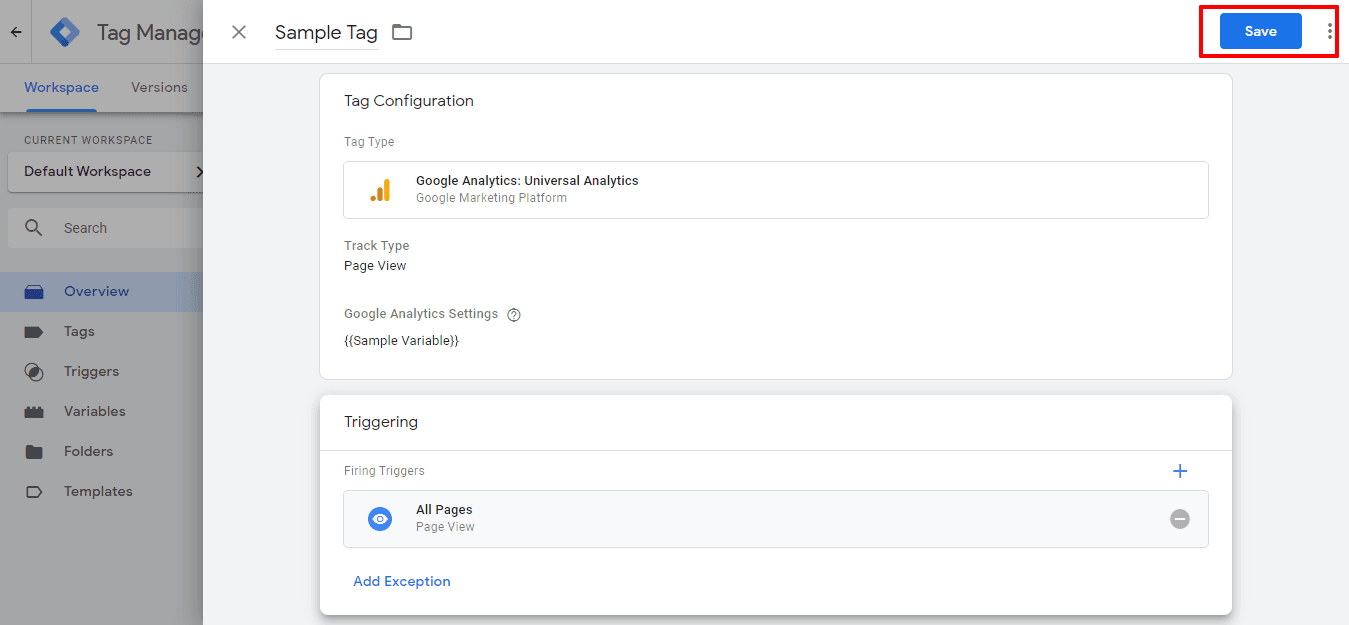
Your tag should look something like this. Click save again 🙂
But we’re not finished yet: now we need to set some goals!
Step 4: Setup Google Analytics goals
Setting up goals help you track the progress of your marketing efforts. Having goals can ensure your website is moving in the right direction.
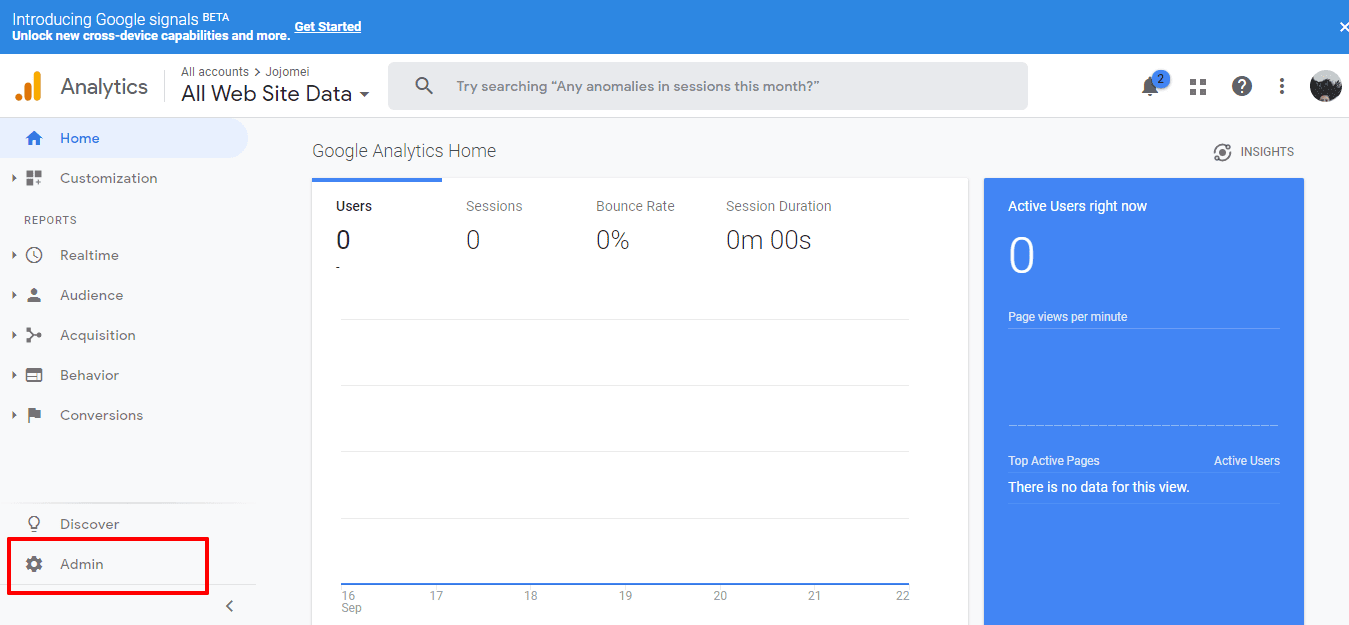
Head to your Google Analytics dashboard. The click the Admin.
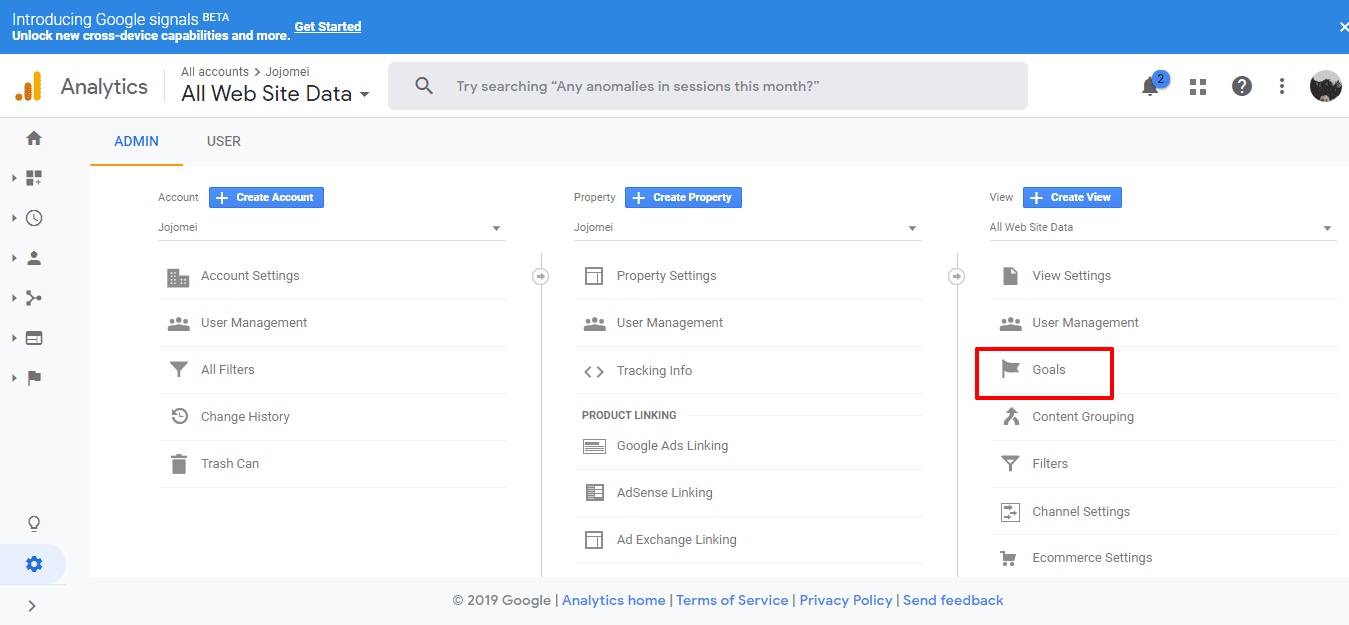
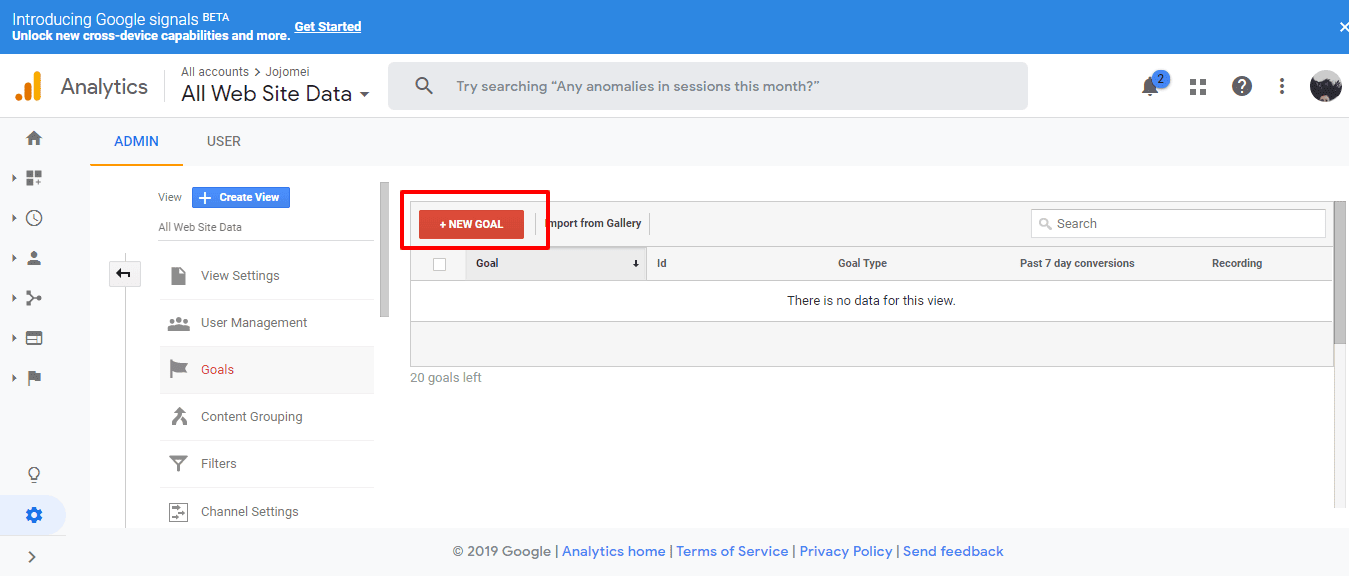
Click on the Goals > New Goal button.
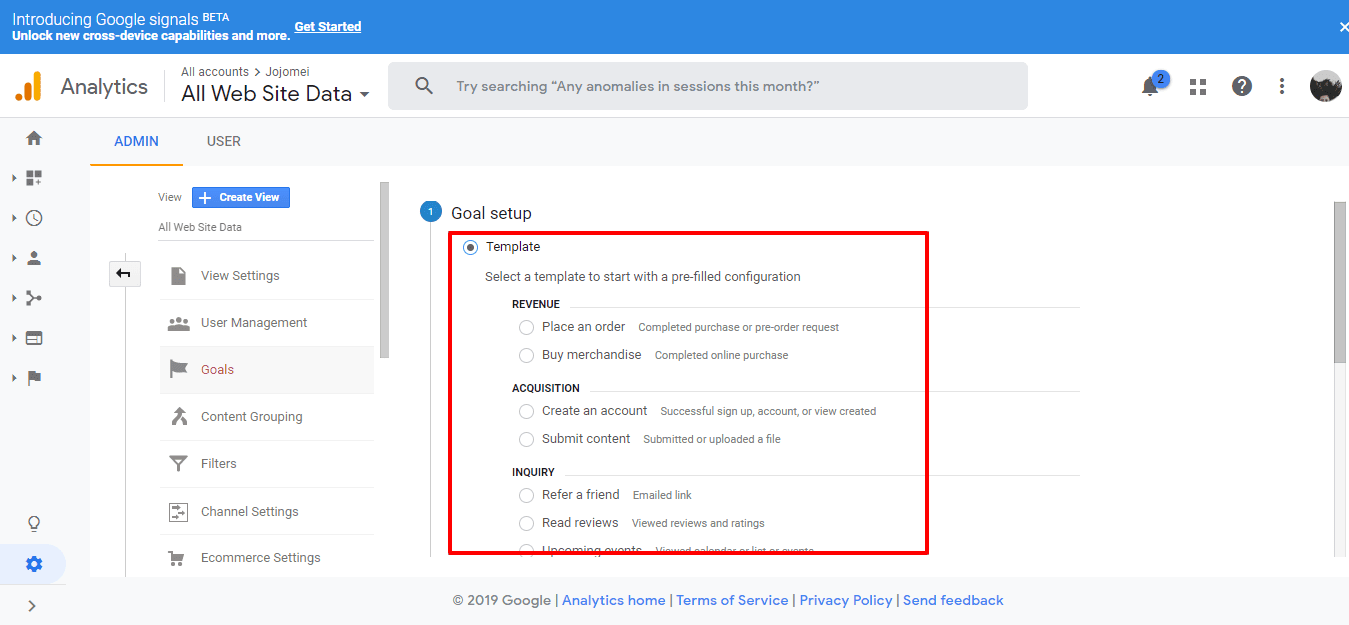
There are different goal templates you can work with depending on your business needs.
- Revenue goals allow you to track any completed purchases on your website.
- Acquisition goals can track signups or account creations.
- Inquiry goals can track visitor actions that indicate interest in learning more about your business.
- Engagement goals let you track specific user interactions on your website.
From there, you can get more specific with each goal.
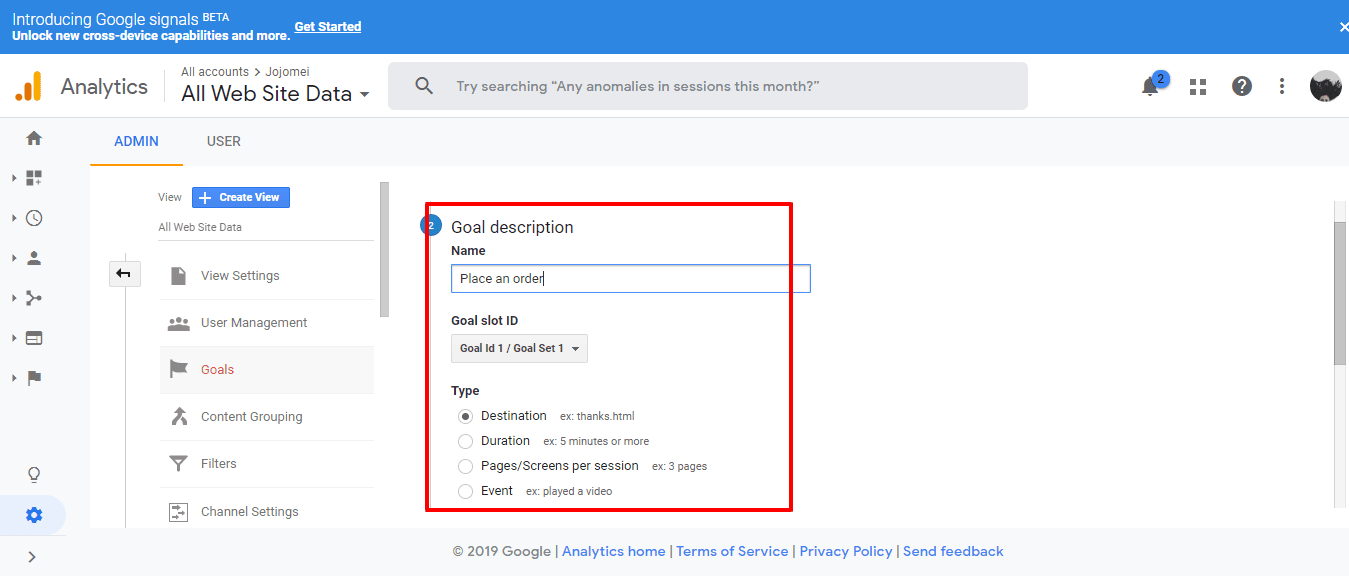
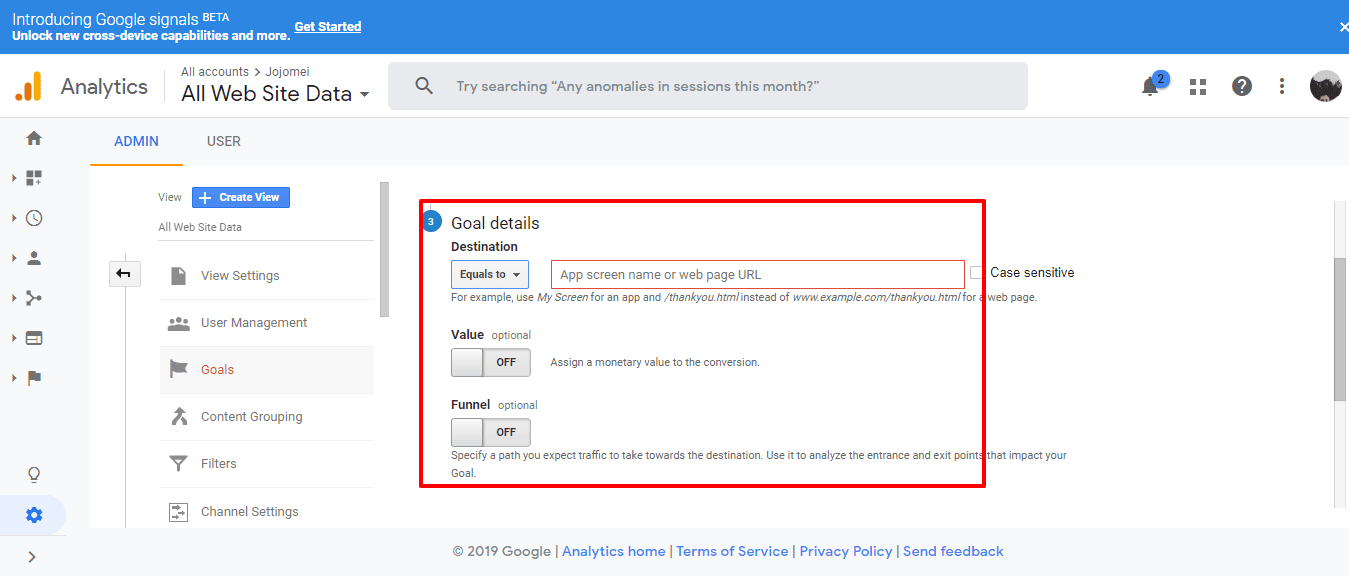
Once you’re done, simply click the Save button.
What’s next?
Now that you’re up and running with Google Analytics, you can really start to dig in to the power of its reporting and audience insight capabilities. But first, here are some additional steps you may want to consider adding to your Google mix:
Up next, we’ll be giving you an introduction to some powerful Google Analytics reports, GA basics and how you can leverage these reports for your business and impress your clients too! Knowledge is power and making data-driven decisions is key to a winning marketing strategy!